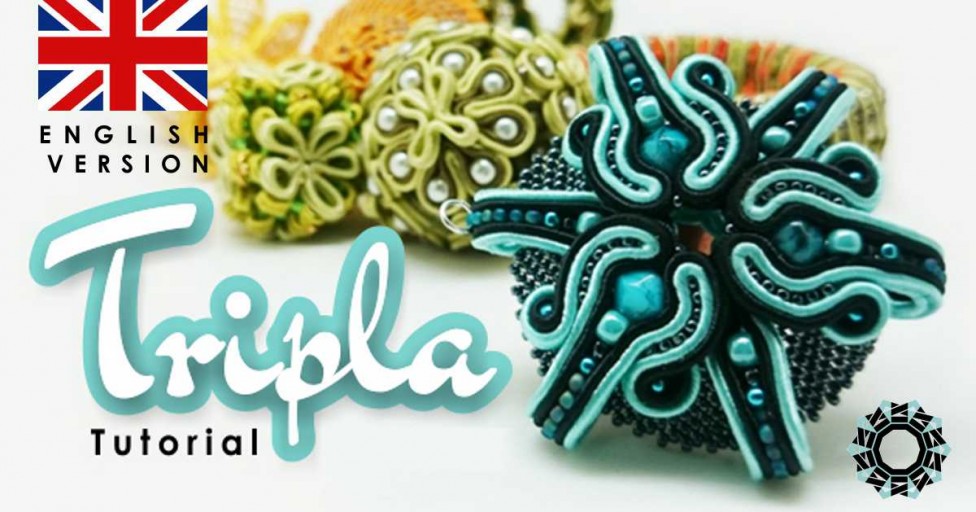
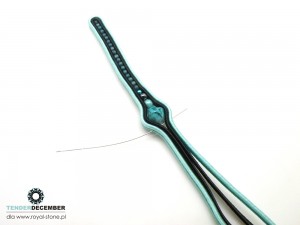
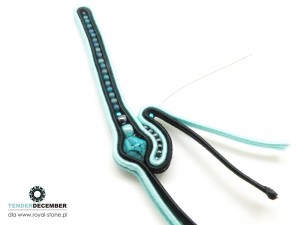
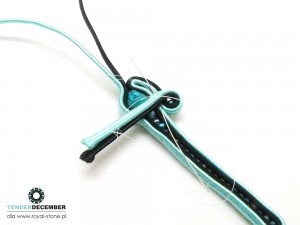
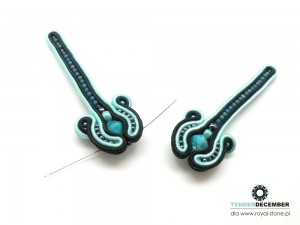
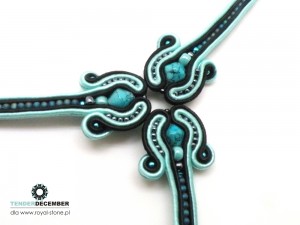
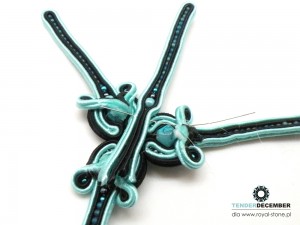
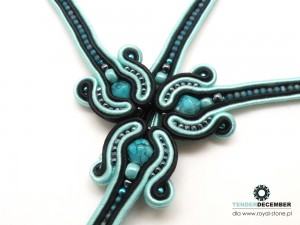
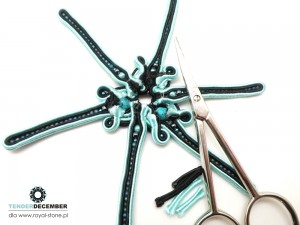
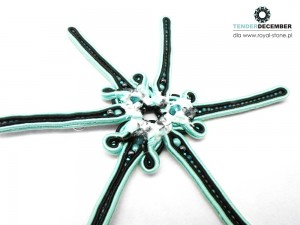
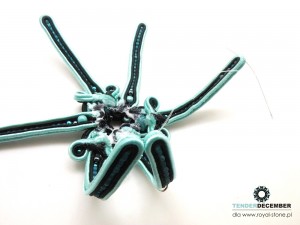
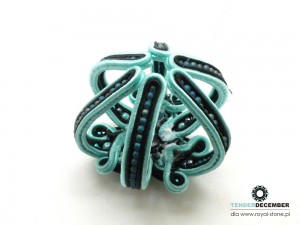
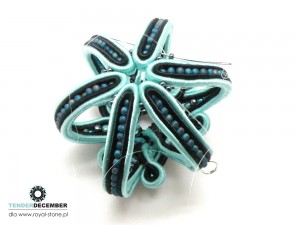
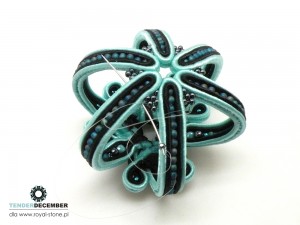
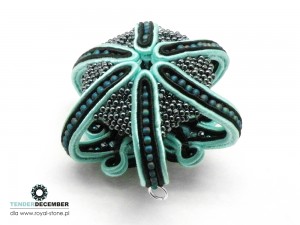
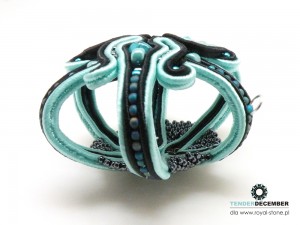
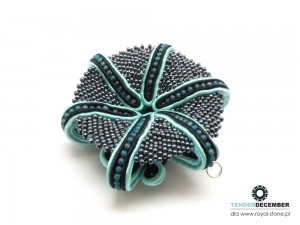
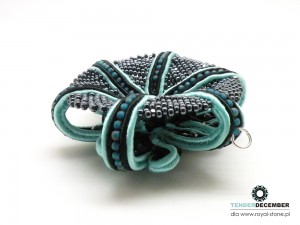
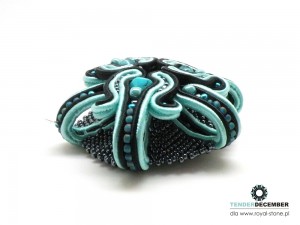
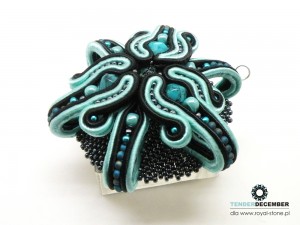
Even beginners will be able to perform spatial forms using soutache embroidery technique. I encourage you to try one of such designs: a pendant described below consists of 6 easy-to-make “ribs” and a “background” made of beads using peyote stitch. This design is also suitable for making earrings.
Are you ready? Let’s get to work! 🙂
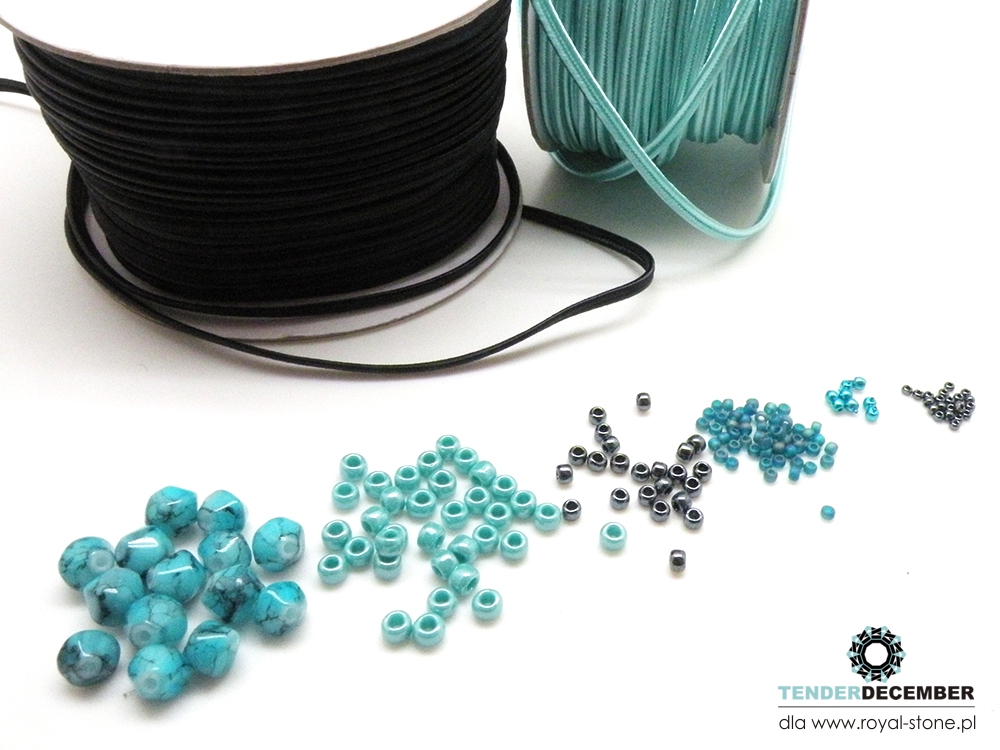
Prepare materials according to the scheme below*:
* Notes:
– of course you can choose different colors of beads and cords, however, their size is very important.
– I’ve been using a thick and “chunky” Chinese cord to make this design.
– always prepare few additional beads of each type.
– if you use different materials, the outcome may vary from the one presented in the picture.
In addition to the materials, to make a pendant, you will also need:
– transparent nylon threads
– a thin needle suitable for beads (as you will probably see in the following pictures, such needles may easily bend or even break, so it’s reasonable to have a few of them just in case
– scissors
– colorless textile glue
Step 1 – creating the ribs with fancy endings
Thread a needle. Bind a strong knot at the end of a double thread.
Place together a black and a turquoise cord, so that their grain is oriented the same way.
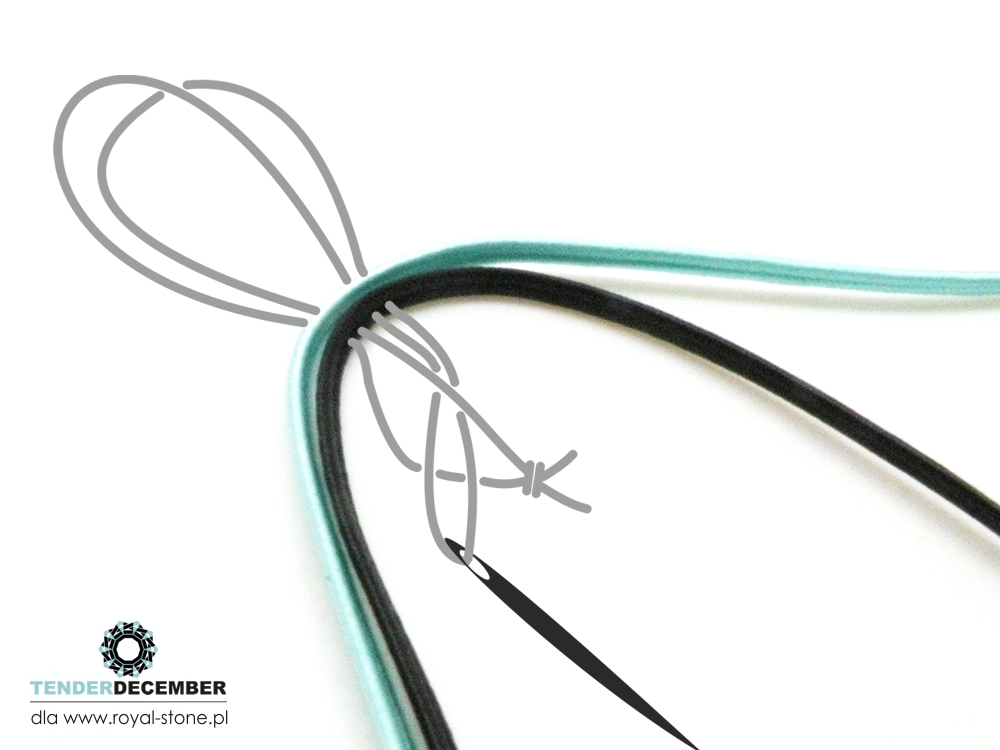
Fold the cords in half and stick a needle in the middle of their length, placing it in a groove in the middle of each cord (photo 1).
Pull the thread gently, leaving a loop next to the knot, then stick the needle (nearby) in the opposite direction and pull it through the loop (photo 2). This will make the thread properly attached to the cords.
Put a rainbow 11/0 bead on a needle. Sew it in, so that it is placed between the parallel bundles of cords (photo 3).
Begin sewing in subsequent beads, placing them one next to the other. Sew through every bead twice, perpendicularly to the cords (photo 4 and 5).
Sew in 19 beads this way (photo 6),
and then, just behind them: turquoise pearl (photo 7), grey bead (photo 8) and light green bead (photo 9).
At the end of the beads’ row sew in a turquoise “crystal”. To fasten it properly, pull the needle out, like in the photo 9, put it through a hole in the crystal (photo 10), then place a bundle of cords on one side of the crystal and stitch the cords, so that they fit tightly to the bead. Afterwards, point the needle in the opposite direction, put it through a hole in the crystal and pull out the thread on the outside of a second bundle of cords. Stitch those cords to the bead in the same way.
Sew both bundles of cords together tightly (photo 11).
To make a decorative ending of a “rib”, pull the needle out like in the photo 12
and begin sewing in smaller beads (hematite 15/0), surrounding the crystal on both sides (photo 13).
Sew in 7 such beads on each side, sew all four cords together above the last bead (photo 14),
then pull the needle out and put a turquoise pearl on it (photo 15).
Wrap the cords around a pearl (photo 16) and stitch them to the underside of the element (photo 17).
In the same way make a decoration on the other side of a crystal (photo 18).
Now trim the excess cords on the underside of the element (photo 19).
Make three identical ribs (photo 20).
Stage 2 – Making the remaining ribs
Make the remaining ribs in the same way, completing the row with a light green 6/0 bead. Sew all four cords together above the last bead (photo 21).
Attach a jump ring to one of the ribs, placing it in the 14th rainbow bead (photo 22).
Make three such ribs (photo 23).
Stage 3 – Connecting the ribs
Sew in a small hematite bead on the top of the decorative element of a longer rib (photo 24).
Afterwards, put the needle out of the element, where three folded together ribs will meet. Stitch the second rib here (photo 25), then stitch the third rib in the same way and connect them together, making a radiant scheme (photo 26). Don’t forget about sewing in hematite beads on tops of the other ribs. Strengthen the whole element by connecting the junctions on the underside. You will see how a completed element looks like from the bottom in the photo 27.
Now locate one of the shorter ribs on the underside of the element, like in the photo 28 (a view from the bottom) and photo 29 (a view of the top side of the element). The shorter rib should be placed in the middle, between two longest (decorative) ribs. This way all the ribs will make an equal “star”, inscribed into a hexagon.
Stitch this one and two remaining shorter ribs, then trim the excess cords on the underside of the element (photo 30) and secure their ends with glue so that they won’t fray (photo 31).
A finished element should look like in the photo 32.
Stage 4 – connecting the ribs
Now connect the ends of the ribs to make a sort of a spatial “basket” (photo 33). Lead the thread through the cords, making a curve at the end of a rib. Strengthen the connection sewing through all the ribs twice (photo 34).
Stage 5 – making a bead background
Sew in one hematite bead between every two ribs. Lead the thread through the first bead of each rib. Make the first row of the background around the whole element, going through all the ribs in one round.
In the second row, lead the thread through second bead of the ribs, sewing in only one hematite bead between the ribs as well (photo 35).
In the third round, also lead the thread through the ribs’ second bead. Sew in two beads between the ribs in the following way: put one bead on the needle, lead the needle through a bead from the previous row, then put on the next bead and sew through the rib.
In the fourth round, go through the last bead from the previous row, put on another bead, go through the second bead from the previous row and sew through the rib (on the level of a second bead of each rib).
In the fifth round, lead the thread on the level of ribs’ third bead, add two beads between the ribs, like in round 3 (photo 36).
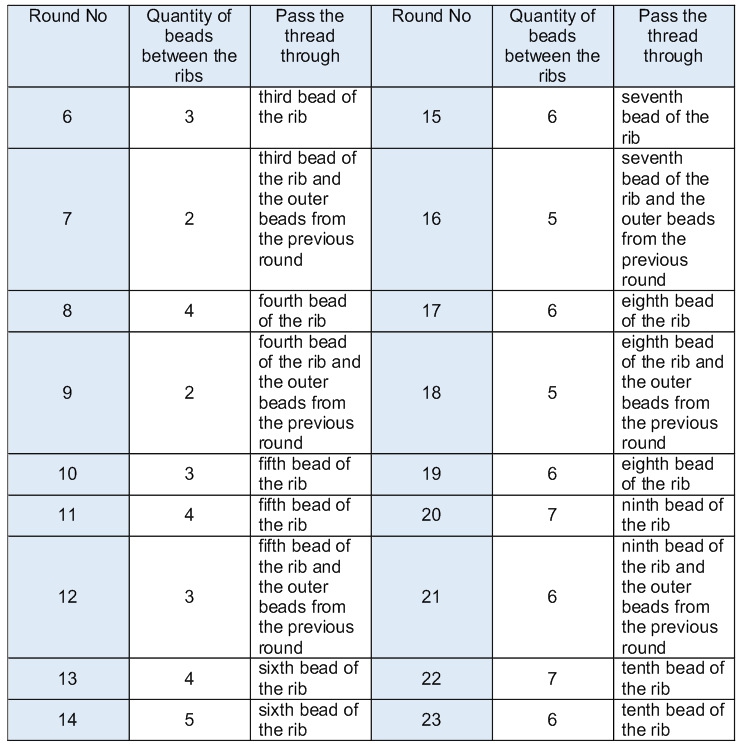
Make next rows, filling spaces between the ribs. While making subsequent rounds, remember it’s necessary to pull the thread tightly, so that the whole element becomes stiff and it’s shape won’t deform.
Suggested scheme of filling is presented in the table below. After completing a seventh row, the element should look like in photos 37 and 38. However, the differences in the sewing manner (e.g. pulling the thread differently) may cause, that in some cases the scheme will have to be modified. Carefully observe your work in progress and adapt the scheme, so that the space between the ribs is precisely filled.
Having done the last round, the element’s underside should look like in the photo 39 and the whole element should obtain a spherical shape.
Push the point where the ribs meet inside the element to obtain a donut-shaped solid (photos 40 and 41).
Photos 42, 43 and 44 show different views of the finished pendant.
I hope that your pendant looks splendid!! 🙂
If your adventure with making soutache spatial forms was a great fun for you and if you still want more practice, have a look at my new book
“Soutache – one step beyond,
double-sided and spatial forms: 30 advanced exercises”: http://tenderdecember.eu/shop/produkt/skrypt-soutache-krok-naprzod/
Kind regards
Alina Tyro-Niezgoda
Tender December / Wytwórnia Antidotum
& Royal-Stone
